NetDucky - Networked Key Injector
Introduction
For many years, a key injector device commonly known as a Rubber Ducky has become a common tool in a Cyber Security and Sysadmin Professionals toolkits, even appearing on popular shows like Mr. Robot. One circumstance I have been considering for a while is if you drop a “flash pen” outside of a pentesting target’s office, and you successfully manage to get it inside the office via a curious worker, what happens if you need to change the instructions the injector carried out? Although this may not be a particularly common scenario, it was good enough as a excuse to play about with ESP32s and Raspberry Picos along with Circuitpython and Flask.
Project Structure
The project is built up of two components. A server app that runs on a remote computer that serves files with instructions to certain duckys, and allows the user to upload new instruction files remotely. The second component is the key injector itself, that connects to a Wireless AP and downloads any instructions, before parsing the instructions and sending the related keystrokes to the victim computer.
Both parts can be found on the Git Repo.
Server
The server was written in Flask, a web application framework for Python, as I have a lot of experience with Python and I read an excellent tutorial on building a Command and Control server in Flask. I also used the Flask Mega-Tutorial by Miguel Grinberg and the Official Flash Tutorial.
One problem was rewriting the structure of the modules within the server so that I could a proper server application like Gunicorn to run the web app and serve it to clients outside of localhost. The small server used for developing Flask applications on a local machine is not secure enough for serving the web application to actual clients.
The server stores the instruction files in the files directory, where the name of a ducky refers to a file. For example, a ducky called OfficeFloor will request a file called OfficeFloor.
A ducky can then download those instructions from the following URL
Files can also be uploaded to the server. This is so a user can overwrite the instructions provided to a key injector, or can create instructions for a new key injector without having to directly access the server. For this reason however, it is not recomended that the server be run on another network from a key injector, as someone could upload files of their own to the instruction server via the internet, including malware or worse. Files are uploaded via http using a CLI tool like curl, and the URL the files are uploaded to depends on the name of the key injector in question (much in the same way as downloading instructions). For example, to upload instructions to the OfficeFloor ducky, then you would upload the file to the following URL: <SERVER_IP>/download/OfficeFloor/. The curl command used to upload a file is
curl -F 'secret=@file_name' URL
where @file refers to the file location of the instruction file on your own local device, and URL is the upload URL.
Key Injector/Ducky Hardware
The Key Injector software was originally designed to run directly on a ESP32-S2, which is a version of the ESP32 that has USB-HID capabilities, but at the time of the original efforts on this project (Summer 2020), ESP32-S2s were difficult to get in the UK (necessitating ordering from overseas retailers and paying for overseas shipping and customs). Another problem was that the sofware ecosystem for the ESP32-S2 with regards to functions like USB-HID were pretty early in their development, and there was little documentation suitable to my skill level. However, a partially working version of the key injector for a ESP32-S2 was written and tested on the easily available ESP32 devkit, which is very similar but has no USB-HID onboard.
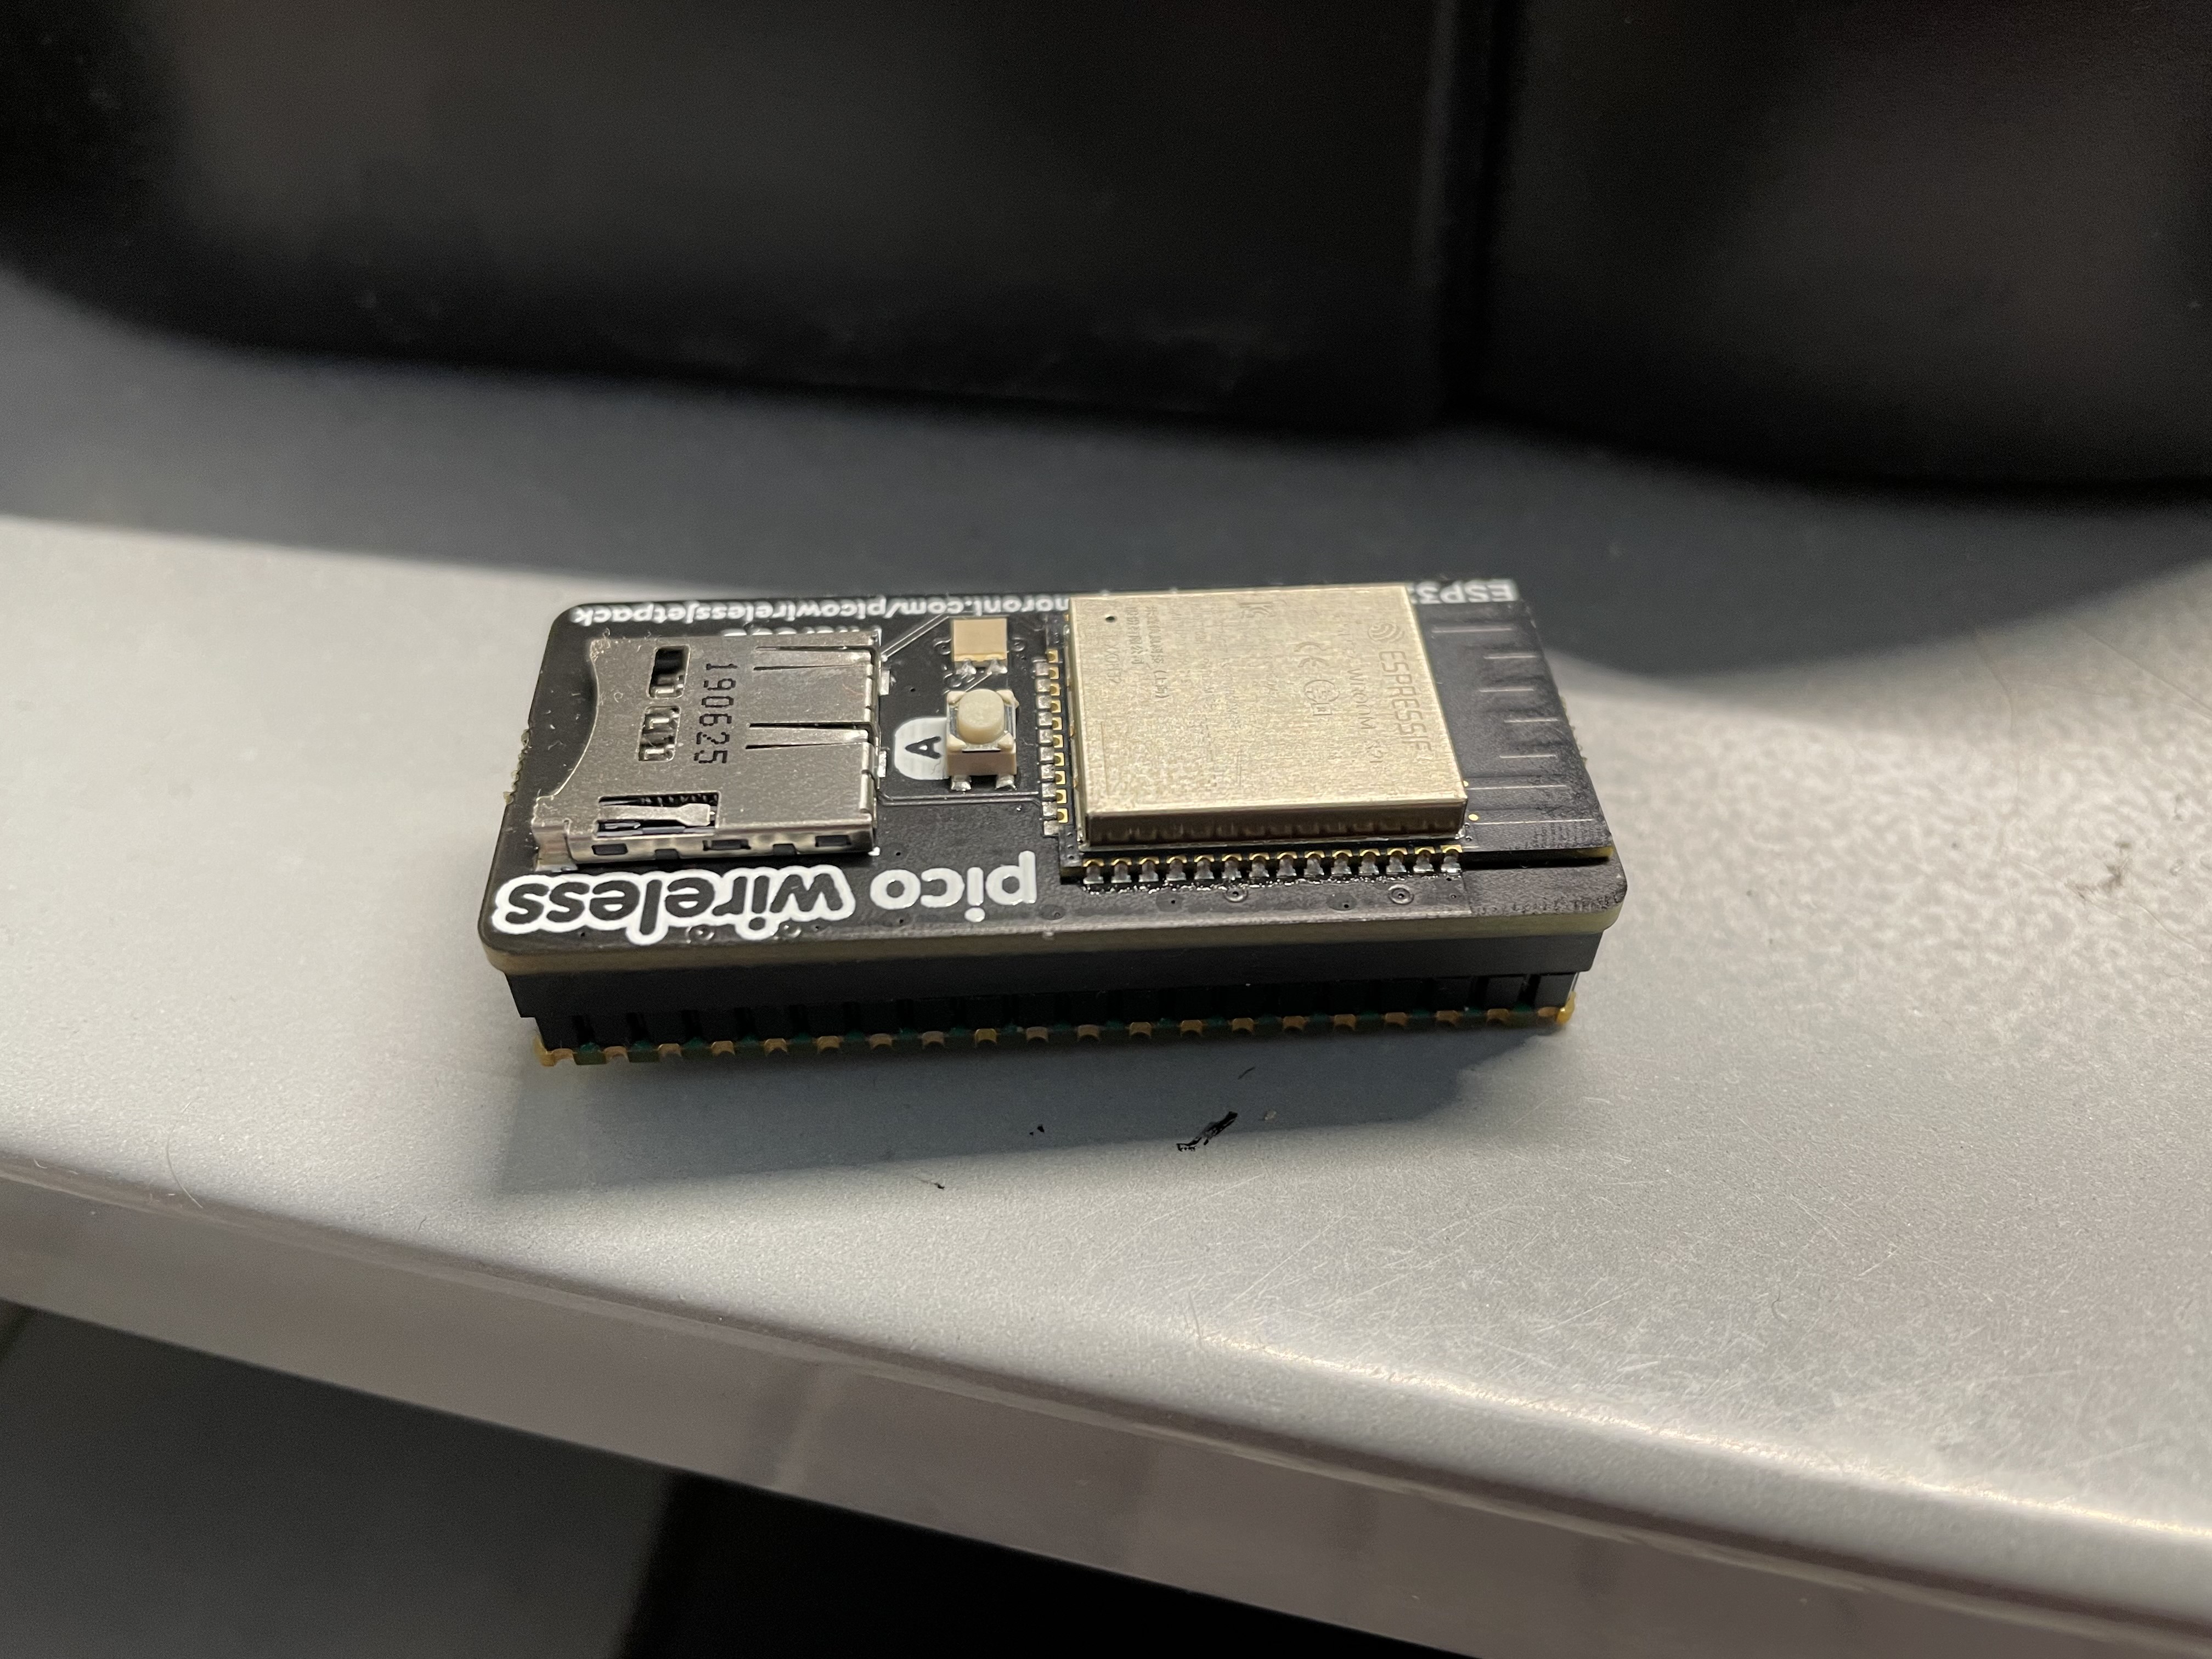
In the intervening months, the Raspberry Pi Pico was released by the Raspberry Pi Foundation. This microcontroller board used a in-house RP2040 chip, and had USB-HID capabilities built in at a very low price. Originally, I ignored it as I felt like interfacing the Pico with a ESP32 would be too difficult and cumbersome, but a month or so ago Pimoroni released the Wireless Pack, a add on board that includes a ESP32 chip. As the Raspberry Pi Pico supports Adafruits Circuitpython language, which in turn has advanced library support for using a ESP32 via serial, I was able to build a fully working key injector. The key injector itself is shown below, with the ESP32 Wireless Kit on top, and connected via pins to the Pico.
Circuitpython first needs to be installed on the Pico using the Circuitpython Pico UF2 file, and the Wireless kit can be attached to the Pico via the pins. The ESP32 on the wireless kit needs no specific configuration, the code running on the Pico will control the ESP32. A storage location called CIRCUITPYTHON will be created where libraries, code and other files will be stored on.
The directory ..\CIRCUITPYTHON\lib\ directory is where you need to store the Circuitpython libraries. You need to include the Circuitpython adafruit_esp32spi, adafruit_hid and adafruit_requests libraries inside the lib folder. You can find all of the library files available for Circuitpython here. The actual code being executed should be stored as code.py. Other file names can be used, for example, main.py or main.txt can also be used. Another file that is required is secrets.py, a file that contains important information that should not be included as part of the main code for security reasons. These include Wireless AP SSIDs & Passwords, and DuckeyNames etc. An example file is included, that can be easily filled in by a user without having to wade through the code.
The code will attempt to connect to the AP desribed in the secrets file, and then will attempt to download the instructions at the URL also based on the secrets file. Once instructions are recieved, the keystrokes will be parsed based on a simple syntax and langauge, and the related keystrokes will be sent to the connected computer via HID as a keyboard. This language will be discussed later.
In theory, other microcontrollers that support micropython and USB HID could be used with minor changes to the code, along with other ESP32 add on boards.
Instruction Language
Instruction files are made up of statements in a simple language heavily inspired by the instructions of other rubberducky variants. The language was to be designed to be as close to english as possible, and has no use but to describe keystrokes.
The different statements that can be used are detailed as follows: Instruction files are made up of the following statements:
- STRING [string] :- Text for the ducky to type out. For example “STRING Hello” would type out “Hello”
- WIN :- Presses the Windows/Super/Command key
- ENTER :- Sends the Enter key.
- WAIT [interval] :- Waits a set amount of time. Interval must be a float i.e. WAIT 0.5 will wait 0.5 seconds
- CTRL [keys] :- Allows you to send a control-key combination. For example, CTRL+S